February 22, 2012

How to make a Marauder's Map (Party Version)

Here is a quick, fun tutorial on how to make an impressive Marauder's Map. It was rather painless to make, the longest part was staining them.
The printable outside of the Marauder's Map
If you would just like a prop Marauder's Map (i.e. You don't care about using it for a party and would simply like to have your own Marauder's Map), you can go to this tutorial.
These maps were made to be used in activities and thus contained an actual map of the location of the party.

What your need:
A printer (preferably colour and laser jet; cannot be an ink printer)
Knowledge of the locations of rooms in your home or location of your party, including closets etc. A blueprint of your house/location of party could be useful here, too
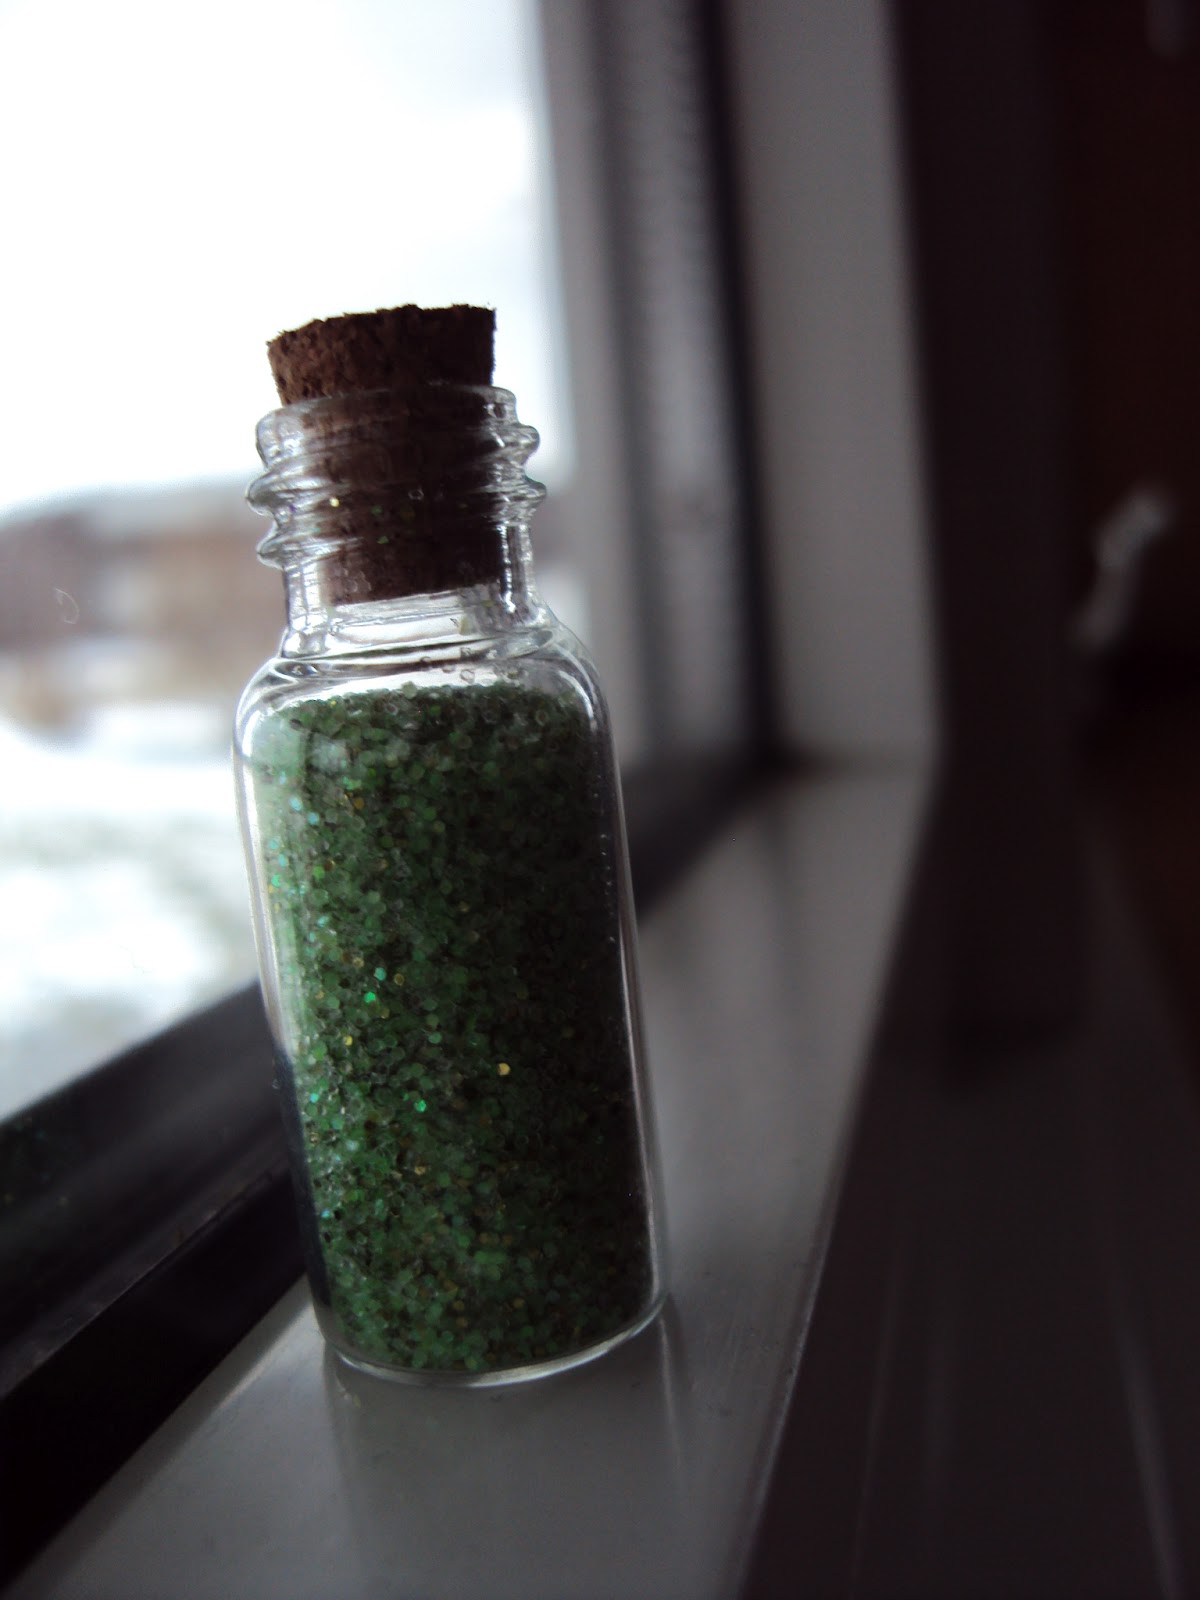
FOR STAINING:
Tea
15x10x1 pan (aka jelly-roll pan/cookie sheet)
See the staining your paper tutorial I have provided for more detailed instructions

First, I have provided the outside of your map for you below above, just under the first picture. If you fold the ends in to the center, you will get a map that looks similar to the picture at the top, however, it will be white for now.

But you don't need to print it just yet. First, you'll need to create a map of your house/the location of the party. The map should be in landscape format. There are several ways to do this depending on your resources and computer skills:

  1. Use Photoshop or a similar program (GIMP is a free alternative to Photoshop and will even open Photoshop files for editing. It doesn't have all the options of Photoshop and it's not as user-friendly, but if you don't want to spend the money it's a good option) create a simple map of the rooms in your house/location of party. This is usually achieved through simple squares and lines
  2. Use the "Paint" program that comes with most Windows computers (I'm not a Mac user and can't say for sure if there's a similar program for that) and create a simple map of the rooms in your house/location of party
  3. Draw a map of your house/location of party on a piece of paper and scan it into your computer
  4. Draw a map of your house/location of party, take a picture of it in good lighting, and load it onto your computer
  5. Draw a map of your house/location of party on each Marauder's Map after printing and staining it
Any of those options would work. I chose #1 because I have Photoshop and am rather good with computers.


You may want to make some changes in how you create the map of your house, i.e. the main alterations we made were:

  • We labelled everything 'magical'-sounding names (e.g. closets were 'broom cupboards'. A list of possible names will be provided below)
  • We left out a bathroom on the main floor to be the 'Room of Requirement', because the Room does not show up on the Marauder's Map, so naturally it would not show up on ours

If you would like to give the rooms in your home more 'magical'-sounding names, a list of possible alternatives is below: (some things are repeated i.e. a bedroom could be the 'Divination Classroom', or your attic could be the Divination classroom)

A tree, especially a Willow tree – Whomping Willow
Any outdoor water source – Black Lake
Attic – Divination Classroom
Basement – Dungeons, Underground, Snape’s Storage Rooms, Potions Classroom
Bathroom – Moaning Myrtle’s Lavatory, Entrance to the Ministry of Magic, the Loo
Bedrooms – Astronomy Tower, Arithmancy Classroom, any sort of classroom name including Transfiguration, Charms, Muggle Studies, Divination, etc.
Closet – Broom Cupboard
Dining Room – Great Hall
Forest – Forbidden Forest
Furnace Room – Floo Network
Garden – Hagrid’s Pumpkin Patch
Greenhouse – Herbology Classroom
Hallways – Entrance Hall, 7th Floor Corridor, 3rd Floor Corridor
Kitchen – Hogwarts Kitchens
Living Room – Common Rooms, Dormitories (could call it the ‘Hufflepuff Dormitories’, or substitute the word ‘Hufflepuff’ for Gryffindor, Slytherin, or Ravenclaw)
Master Bedroom – Dumbledore’s Office/Headmaster’s Office
Offices – Defense Against the Dark Arts Professor’s Office, Unused Classroom
Shed – Shrieking Shack, Broom Shed
Stairs – Grand Staircase, 3rd Floor Corridor

If you have any other suggestions, feel free to comment and I'll add them!

When you have finished creating and labelling your map, print them out so that the picture at the top is on one side of the paper and your map is on the other. You can fold it in now, but it's easier to just wait.


Now you're going to stain the paper, and the instructions can be found in my other post, The Letters/Invitations--How to Stain Your Paper Tutorial. Stain all of your maps, flatten them, and then fold the edges in and you will have a lovely map that looks similar to this:


This map went over really well, and many of my friends now display it in their bedrooms! It's such a simple craft but really looks fantastic when it's finished.

February 11, 2012

How to Make Magical Wands (Without woodworking skills)

This is a tutorial on how to make easy magical wands for your guests. They're relatively simple and don't take long; the longest part is waiting for them to dry. They are made primarily of paper and glue but end up quite sturdy at the end.


The picture above was taken after the wands had been used during the party, so it's not in quite as good a shape, but nonetheless looks nice :)

I found this tutorial on instructables.com and found it very useful. They also have some good pictures so that you understand what we mean with these steps.

Things You Need:
A piece of paper, 8.5”x11” or larger
Double-sided tape (optional)
Hot Glue gun
White glue (optional but recommended; can use hot glue as well)
Scissors
Paint, spray paint or otherwise, in the colour you would like your wand to be
Toilet paper, tissue paper, or even scrap paper

Directions:
  1. Stick a strip of double-sided tape diagonally across your paper. You can skip this step (we did), but it helps to keep the paper wound tightly. Another idea is to put a straw diagonally across the paper or a barbeque skewer or something similar to make the wand stiffer, however, we found that they ended up quite stiff without any of that.
  2. Tightly roll the paper, beginning in the corner and working to the opposite corner. Roll it slightly diagonally so that one end of your wand is slightly larger than the other.
  3. Once you’ve rolled about halfway, take some glue, preferably white, and smear it on the unrolled section of paper. We used a plastic paintbrush and painted some on. Make sure you get it right to the edges of the paper for the best stick.
  4. Continue to roll the wand up until you reach the end of the paper. Hold the wand together tightly so that it dries. You may have to hold it for a few minutes.
  5. When you’re sure that the ends will stay on, let it dry for a bit longer so that the paper isn’t soggy.
  6. Now snip the ends off so that they’re flat and dribble some glue into one of the ends (we did the larger one first). You can use white or hot glue, but we used white so we wouldn’t use up all the hot glue. However, the hot glue dries much faster and probably a bit stiffer.
  7. After sticking some glue into the end, take a square of toilet paper (or a small bit of scrap paper, tissue paper etc.) and roll it up, then stuff it into the hole. Dribble a bit more glue on top of the paper and repeat. If you need to, don’t hesitate to use a pencil or barbeque skewer etc. to shove the toilet paper down more.
  8. Once all that is dry, use some hot glue to create a round end at the bottom of the wand.
  9. We found that a very useful way to let the wands dry was by using the toilet paper roll and putting the ends of the wands in it so that it dried standing up.
  10. Now after filling the other end of your wand and letting it completely dry (you may have to wait overnight), create some details on the wand with the hot glue. You might want to make a vine pattern, or you can layer it to make a handle.
  11. Paint your wand in the colour of your choice. We used a dark bronze spray paint.

And your wands are ready for spell casting!


>>Link to Table of Contents

February 06, 2012

Floo Powder, Remembralls, and the Golden Egg

These are the simple crafts of the party. They each took maybe 5 minutes. Here are a few quick tutorials for Floo Powder (which guests can take home), Remembralls (for decoration), and the Golden Egg from the Triwizard Tournament (useful for activities).

FLOO POWDER

Items Needed:
Green Sparkles (I used two colours; a light green and a darker one and mixed them)
Small bottles, preferably with corks (available at a dollar store. I found a pack of about 10 tiny corked bottles containing beads. I simply emptied the beads into bags and used the bottles. It cost about $1.50)

OR
You could also dye sugar green should you want to make your Floo Powder edible or do not have any green sparkles available
*Later Edit*
I've also found a recipe at planetpals.com to make salt sparkle like glitter. It might not taste as good, but if you'd like to try it, here's the recipe:

Items Needed:
Baking pan
Tin foil
1/4 cup of salt
1/2 teaspoon LIQUID food colouring


Directions:
Mix the salt and food colouring in a small bowl until the salt is uniformly coloured. Spread the mixture out in an even layer on a foil-lined baking sheet. Bake in the oven for 10 minutes at 350 degrees Fahrenheit. Allow your homemade glitter to cool before using it. Can be stored in an airtight container for several months.


Directions:
Quite simply, mix together your sparkles (if applicable) or dye your sugar green, and put it into the bottles. Print off the picture provided below and resize it to fit your bottles, then glue it on. And voilà! A cute little bottle of Floo Powder to give to your guests!

Click "See More" to see the quick tutorials for Remembralls and the Golden Eggs

February 03, 2012

How to Make Your Own Broomstick

A tutorial for how to make your own Quidditch-worthy broomstick! This one was our own version of Harry Potter's "Nimbus 2000".


Things You Need:
Hot glue (A LOT of hot glue)
Twine/String etc.
Sticks/twigs (We honestly went out and trimmed some off of fallen branches. You need a fair few sticks, but it shouldn't take you very long if you go tramping through a forest with a pair of clippers)
A long broom-thickness stick, preferably fairly straight

Directions:

  1. Sort our your twigs, the ones that will eventually be the tail of your broomstick, into piles depending on length. One pile should be for the short twigs, one for the long ones, and one for the medium twigs
  2. Take the long twigs and wrap them evenly around the bottom of your broomstick, approximately 6 inches (16cm) from the end of the broom handle while leaving about an inch (3cm) of the twigs on the other side of the twine. You may need someone to help you with this because otherwise the next step will get quite tricky...
  3. Tie the sticks firmly to the broom by wrapping the twine around and tying it in knots multiple times.
  4. Adjust the positions of the sticks so that they are evenly spaced around the bottom of the broom. Dribble hot glue in the spaces and around the twine to secure it firmly. It was useful to have one person rotating the broom while the other person applied the hot glue. You may have to go around a few times: once around the top of the twine, once around the bottom of the twine, and once to ensure the gaps were filled (this is why you need a lot of hot glue).
  5. Follow steps 3 & 4 with the medium sticks and then the short sticks, allowing the glue to dry in between.
  6. When all of your sticks are glued on and it looks like a broomstick, take some small pieces of twine and wrap it around your broomstick end every 2 1/2 inches (7cm) or so down, tying it tightly enough to shape your twigs into the desired 'broomstick' shape (i.e. the twigs are not sticking out all over the place)
  7. Leave your broomstick for about a day or two (or longer, it won't hurt) so that the twigs stay in that shape. When you are ready to take the twine on the end off, trim any twigs that still haven't achieved the broomstick shape.
  8. Take some remaining twine and use it to cover up the hot glued twine and twig section. You can also do a second wrap around the twigs lower down, however, we did not do this
There you go, your own home-made broomstick! If you want to go the extra step farther and you happen to have an engraver, you could also engrave the words "Nimbus 2000" onto it like we did. It made for a neat effect, and you could even fill it in with gold paint!

February 01, 2012

Chocolate Frogs - How to make Chocolate Frogs When You Don't Have a Mould

Another lovely sweet for your Harry Potter Party!

I made this "recipe" up, seeing as I really wanted to give my friends chocolate frogs yet I did not own a candy frog mould nor did I know anyone who possessed one. It's ridiculously easy and will take you less than twenty minutes, less if you've already got the icing made.

Of course, there are plenty of other ways to make these, including a bit more home-made ones such as actually making the chocolates yourself, however, this is a very easy way to do it :) I was also lucky because the Turtles that I used came on sale during the holiday season so I got them for a fairly decent price :). Here's a link to a recipe on About.com that detailed a simple way of making your own version of these treats if you so desire.

Me, however, this was my approach:


'POTION' FROSTING
(The original recipe was titled 'Butter Frosting' and was submitted to the recipe book by Norma Gingerich)

Ingredients:
1/4 cup butter (I had it at room temperature)
2 cups icing sugar
2 egg yolks
1 teaspoon vanilla
1 tablespoon half and half cream (although a richer cream, such as whipping cream, would likely work. This would just make your icing creamier. However, this is just a speculation. If you tried this, please comment with your results.)

Directions:
Beat with an electric mixer until smooth (it really is that easy)


This is also the same recipe that I used to fill the Cauldron Cakes, you can find the post by following that link. This was sort of our generic icing recipe, I also used it to coat the edible snitches.

PUTTING TOGETHER THE CHOCOLATE FROGS:

Things You'll Need:
Chocolate Turtles, (if you wish to see some you can view official Nestlé site here, but you'll need to buy them at a store)
Icing, whether from the above recipe or your own
Small edible sprinkles (or any other nonpareil you happen to have that would work for the purposes. Even a bit of coloured sugar maybe)
Wax paper

Directions:
  1. Make your icing green by adding a little green food colouring. Next, if you have any clear plastic milk bags (clean ones) they would be perfect for this, but if not simply take some parchment paper and roll it into a cone, securing it by stapling it. Snip off the end of the parchment paper or the milk bag, whichever one you're using, and spoon the icing into it. This is so that we can use it like an icing tip and  put little froggy feet onto our chocolate frogs :)
  2. Put your chocolate turtles onto the wax paper and pipe out little feet for them. Try not to make the toes too long, or the icing will break when you try to take it off the paper. 
  3. Pipe small blobs onto the top as the 'eyes'.
  4. Take a small nonpareil or sprinkle etc. and pop it into the middle of the eye as the eyeball. If you do not have any substitute that you can use to do this you can just use a toothpick to poke out a small hole in the icing as an eye.
Voilà! They're super cute :) Everybody loved them!

This guy got a wee bit mutilated from his one eye and a couple of his feet, but overall you get the idea, they were so cute! P.s. our Marauder's Map is in the corner - tutorial on that later!